Working with Comments and Leader Lines
Comments and leader lines can be added to GIS designs to provide construction and field notes for work crews. A single design can include multiple comments. Comments and leader lines are displayed on the GIS map. The style of the comment text (e.g., its font, size, and color) depends on how GIS styles have been configured. The text of a comment is also displayed in the Design Workspace.
While working in the Design Workspace, you can edit and delete comments. To move a comment to a different position on the map requires the use of tools in the GIS. All comments associated with a design are deleted from the GIS map when the work request to which the design is attached is closed out with the Construction Complete command.
In Bentley OpenUtilities Designer, the objects Design Comments and Leader Line are configurable as standard feature types and displayed in the Features Catalog with the Miscellaneous group (Design page). Thus these objects can be configured to have attributes, including placement offset.
Adding Comments to GIS Designs
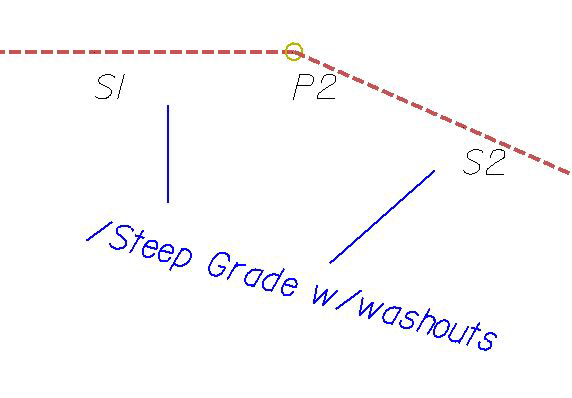
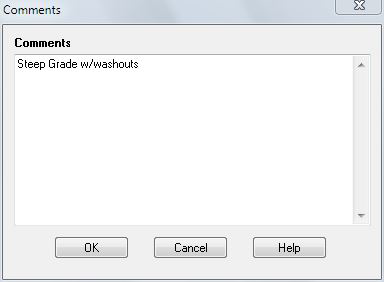
The Comments dialog box is used to add a comment to a GIS design. Placing a trail point in the GIS window indicates where the comment will be placed on the map.
The Comments dialog box is accessed from the Actions menu of the Design Assistant.
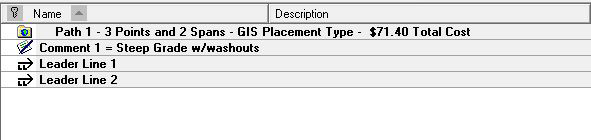
Comments are numbered and listed in the Design Workspace below the folders of the design elements. Design information from the Design Workspace (i.e., an item's Name, Description, Status, and Quantity) can be incorporated in the comment with a drag-and-drop or copy-paste operation.
To add a comment to a design
- With the design open in the Design Assistant, choose Add Comments from the Actions menu to open the Comments dialog box.
- In the GIS window, place a trail point where you want to place the comment.
- In the Comments box, type a comment.
- To incorporate text information about a path, work location, feature, or unit displayed in the Design Workspace, drag the item into the Comments dialog box.
- Or right-click the item in the Design Workspace and choose Copy from the shortcut menu; then right-click in the Comments dialog box where you want to insert the text and choose Paste from the shortcut menu.
- Click OK.
Editing Comments
While working in the Design Workspace, you can edit a comment by double-clicking it or using the Edit Comment command on the shortcut menu. These actions open the Comments dialog box so you can make changes to the text.
Deleting Comments
The Delete Comment command on the shortcut menu is used to delete a comment displayed in the Design Workspace. This action also deletes the comment from the GIS map.
Adding Leader Lines
To indicate a specific area on the map where a comment applies, you can attach one or more leader lines to a comment. This action is performed using the Create Leader Line command on the Actions menu. To draw a leader line, you must place at least two trail points in the GIS window.