Importing catalogs, applications, and files
CUBE 2024 introduces a new project (catalog) and application (flow chart) data definition based on JSON format. A built-in importer is available to help convert your CUBE 6 catalog files(.cat) to CUBE projects (.cube-project), as well as your CUBE 6 Applications (.app) to CUBE Applications(.cube-app), with only a few steps. The importer will also copy the referenced input files and other files in your model folder.
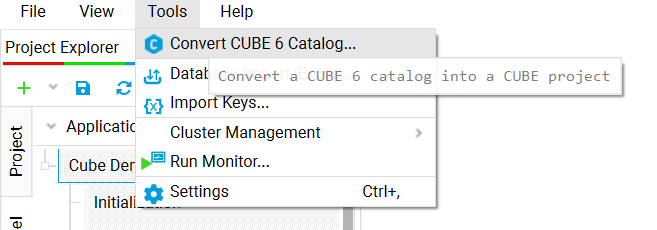
The below steps illustrate the use of the CUBE 6 catalog importer
- Open the CUBE 6 Catalog
importer:
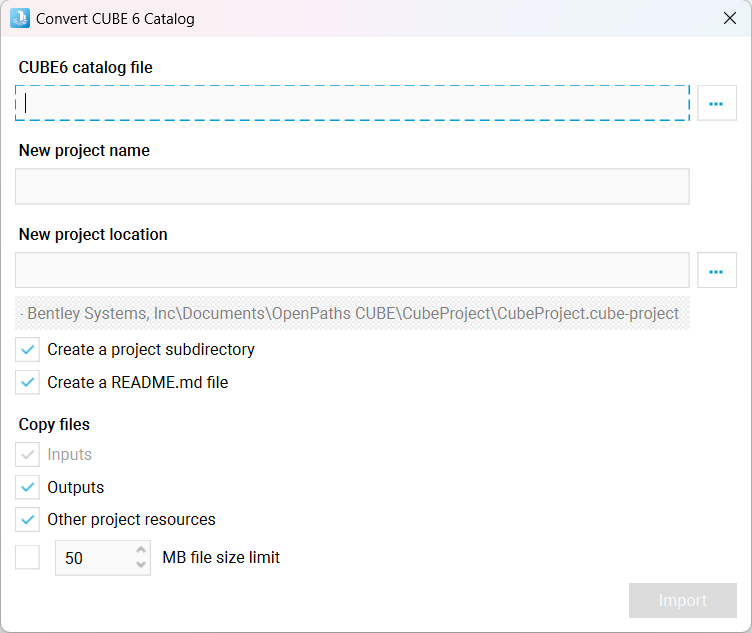
- CUBE 6 Catalog File : Click the browse button to navigate and select the CUBE 6 catalog file you would like to import
- New Project Name : Enter the name for the new project. Starting CUBE 2024, projects are equivalent to the CUBE 6 catalog files.
- New Project
Location: Browse and select the location where you would like to
save the imported project.
Note: It is important to make sure that the output cube project will be added to its own folder. Avoid locating the converted version of your model in the same folder as the catalog being imported. It is also discouraged to have outputs (outputs and print files) to be located in the same folder as script files in your catalog. CUBE 2024 has a more standardized model folder structure which is applied during conversions and in all new projects, which is why avoiding certain folder structures practices is needed to ensure consistency in your model when imported.
- Create a project directory: Select this option if you would like to create a sub folder for the imported project inside the location selected above. The new sub folder will have the same name as your project. If the location you selected in item 4 is specific to this project, then you do not need a separate project directory and can leave this option unchecked
- Create a README.md file: CUBE projects come with a README.md file which serves as a one- page documentation for your model. This file is in the markdown format and can support text formatting and other media. This file can be edited and viewed inside CUBE 2024. Select this option if you would like to create a template README.md. The standard template contains examples of different formatting and media. You can edit this file in your project to add information relevant to your model for the model users. More information on Markdown is available at https://www.markdownguide.org/
- Copy files: By default, the importer copies all input files referenced in your scenario keys and file links in your application manager. Select the Outputs option if you would like to copy the output files from your model. The importer will copy all the output files referenced (with resolvable paths) in your application flow chart. Use the Other project resources option to copy all the other files in your model folder. The importer will copy the inputs, outputs and other project resources in the same folder structure as was in the CUBE 6 model.
- File Size Limit: Setup a limit on the size of the files to be copied. The importer will only copy files which are under this limit.
- Click Import to start the import process.
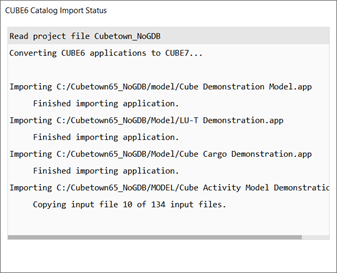
The importer status window will open showing the status of the import process. The time to import depends on the size of your model application and other file sizes. If you have large files, this might take longer. You can also choose not to copy the output files and other project resources and do them outside of the import process depending on the need for these files.
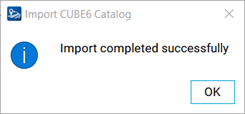
After the import process is done, you will see one of the three confirmation messages below.
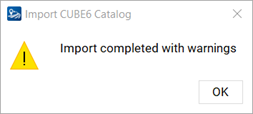
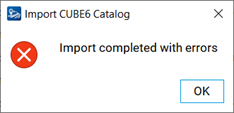
If your import process is complete with errors/warnings, you will receive a log of the errors/warnings which you can save to a file for further review.
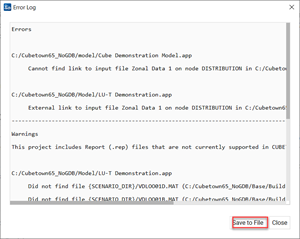
The most common error in the import process is unable to find files. This could be due to many reasons as below:
- Output files from one program used as input file to another program but is not linked in the flow chart. In this case, if this file does not exist, the importer will log an error that the input file is missing. Errors and warning generated during Import.
- Input file setup as input in a scenario key but is missing.
- Input/output files with tokens in their file path/file name.
- Files output from external programs set up as part of the model process but is not visible in the application flow chart.
In this case, if a file is an original input (and not output as from an immediate program), but the importer is not able to resolve the path or if it is a missing file, the user needs to copy/create the file in the right location.
Common Error Messages:
External link to input file Zonal Data 1 on node DISTRIBUTION in C:/Cubetown65_NoGDB/MODEL/DISTRIBUTION.APP output file is not valid.
Cannot find link to input file Network File on node PUBLIC TRANSPORT in C:/Cubetown65_NoGDB/MODEL/GDBOUT00.APP.
CUBE 2024 has a more standardized folder organization for
applications and scenarios. Each application (.cube-app) will reside in a
separate folder under the parent
Applications
folder. Each subgroup within an application will have individual folders to
organize script files and application specific file.

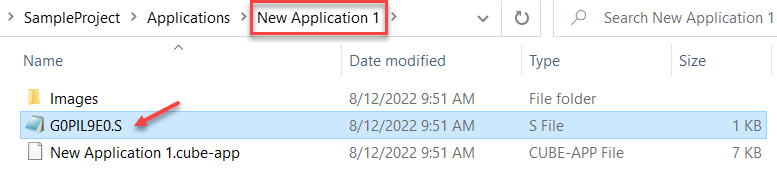

For imported models, each application will be arranged under the new folder structure, with their script files copied to the respective application/group directory. Depending on the user import set-up, print files and other output files will be copied correspondingly.
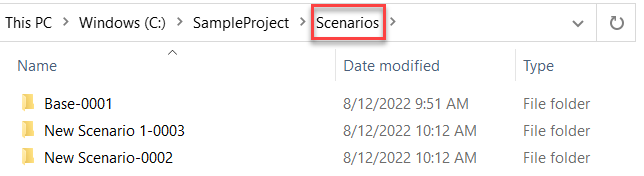
Each scenario will have a separate folder under the main
Scenarios folder
with the scenario code as the unique identifier (<scenario
name>_<scenario code>)