Linear Pattern
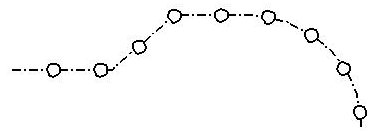
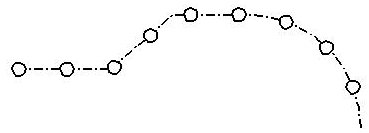
 Used to draw or "tile" a pattern along an existing linear element. That is, to replace the linear element with repetitions of the pattern cell. After applying linear patterning to an element, you can turn off Patterns in the View Attributes
Dialog
(
), to display the original linear element.
Used to draw or "tile" a pattern along an existing linear element. That is, to replace the linear element with repetitions of the pattern cell. After applying linear patterning to an element, you can turn off Patterns in the View Attributes
Dialog
(
), to display the original linear element.

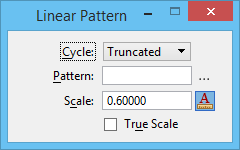
| Setting | Description |
|---|---|
| Cycle | Sets the manner in which the active Pattern Cell is placed.
|
| Pattern | The cell that is tiled to create the pattern. Can also be set with the Set Active Pattern Cell icon in the Cell Library dialog ( dialog launcher). |
| Browse | Opens the Cell Library dialog for the placement of a different active cell. |
| Scale | The active Pattern Cell is scaled by this factor. If between 0–1 (for example, 0.25), the size is decreased. If 1, the size is unchanged from the cell definition. If greater than 1, the size is increased. |
| Annotation Scale Lock icon |
Sets the Annotation Scale
Lock. When this lock is on, the annotation scale is applied to the pattern. By default, the annotation scale is taken from the model's Annotation Scale setting. You can change it only in the model's properties in the Properties dialog. The exception is when the model's Propagate Annotation Scale property is off. In that case, the annotation scale can be controlled independently for each element via its properties. |
| True Scale | If on, the active pattern is scaled to adjust it to the units of the active model. The scaling occurs only if the cell is shared and the units of the model in which the cell was created differ from those of the active model. |


Tip: Linear patterning is supported to maintain compatibility with existing applications and for customers who have existing designs with linear patterns. In most cases, however, defining a Custom Line Style and using linear element placement tools is far more efficient, and is recommended for new design work.